
Frost + Freeze in Your Lowcountry Garden
PLUS HOW TO FREEZE FRESH HERBS + GREENS
Even though we enjoy moderate Lowcountry winters, temperatures still dip below freezing — often unexpectedly. Being prepared will ensure you protect your harvest.
At Rita’s Roots, we watch the forecast carefully from mid-November to March and send alerts to our clients when they need to act. Big swings in the weather can be more challenging than colder temperatures because the plants don’t have time to prepare.
Follow these tips to protect your plants from frost and freeze.
A FROST VS. A FREEZE: WHAT’S THE DIFFERENCE?
Let’s be sure we are clear about the terminology. A frost can happen from 32 to 35 degrees, and a hard freeze occurs when temperatures go below 32 degrees for a couple of hours.
Cold hardy plants can remain uncovered during a frost. If they are already used to cold temperatures they can even withstand a hard freeze. But we say it never hurts to protect them with frost covers just in case. If we are expecting temps below 25 degrees we will even cover with two layers
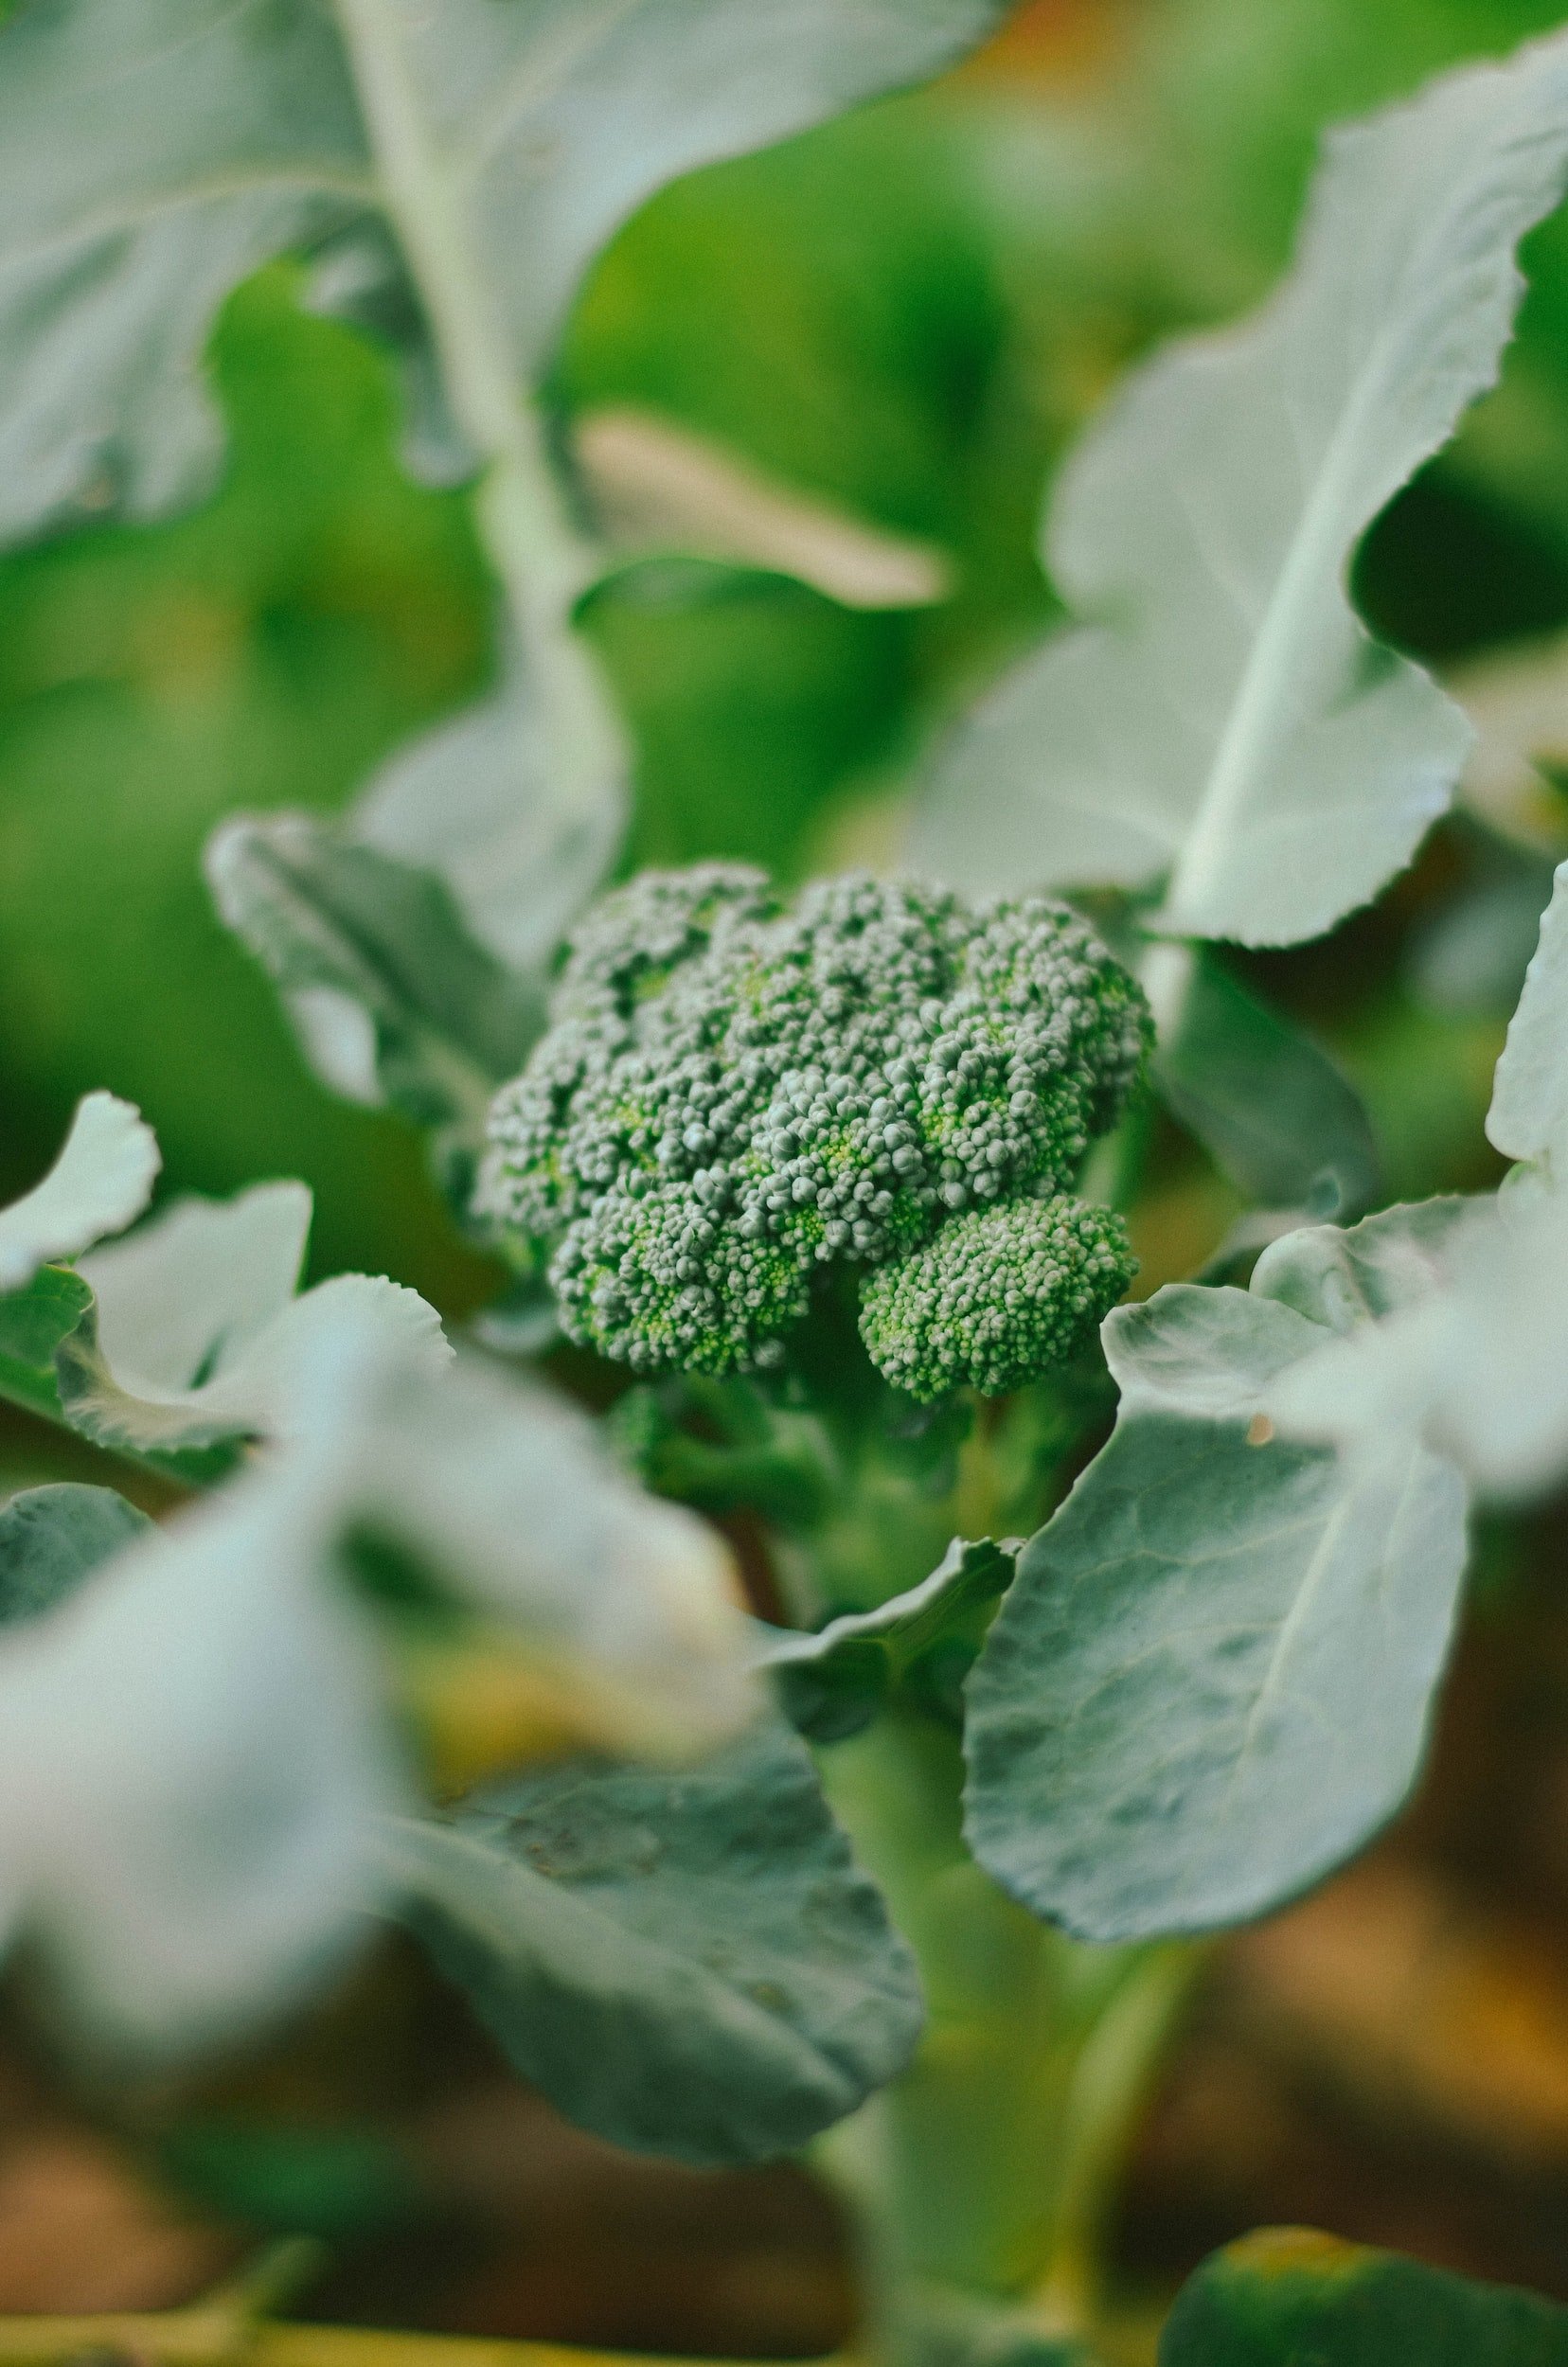
CHOOSE HARDY, COLD-WEATHER CROPS
Broccolini Shoots – the more you harvest, the more the plant will produce.
Vegetables can be grouped into two categories: tender and cold-hardy. For Fall planting in the Lowcountry, we recommend these cold hardy vegetables:
broccoli
cabbage
carrots
lettuce
radish
spinach
cilantro
As the frost approaches, say goodbye to that eggplant, basil and pepper from your summer garden. They usually won’t survive the first frost unless they are covered, which typically happens around Thanksgiving. If temperatures cool for a prolonged period of time, production will slow. If we get a hard freeze, these plants will die even under the frost covers.
HERE’S WHAT TO DO
Water the Garden really well to saturate the soil. Water gives off heat through evaporation.
MULCH the garden with 1-2″ of Soil Conditioning Mulch, pine straw or yard leaves.
Harvest all mature fruits and plant parts if protection from the cold becomes questionable.
Harvest all mature fruits and plant parts if protection from the cold becomes questionable
ALL TUCKED IN
We recommend these Frost Cover tents for your garden. They are sold in a standard 14’ or can be cut to your custom length. You can order them, along with the support rods, hoops and pins from our online store. Pick-up in downtown Charleston at the Container Garten at 1630 Meeting Street.
To protect a 4’x8′ garden bed you will need: (1) 14′ piece of fabric, (5) support rods/hoops, and a 10 pack of frost cover pins.
Create a tent over your garden, being sure to tuck all plant material underneath the tent. Use the pins to secure the fabric into the soil and be sure the fabric is taught so wind cannot get underneath and whip up corners during the night.
HOW TO FREEZE FRESH HERBS
STEP 1
Wash and roughly chop the fresh herbs.
STEP 2
Using a spoon, scoop herbs into an ice cube tray. Add a touch of water to help them stick together.
STEP 3
When frozen, pop out of ice cube tray and store in plastic bags to use all year long. It is especially nice to pull out homegrown cilantro from the freezer in June and July when it is salsa time!
HOW TO FREEZE FRESH GREENS
All greens with the exception of lettuce can be frozen — even arugula! For this you will need a big pot with boiling water, a big pot or sinkful of cold water, tongs or a slotted spoon, quart sized freezer bags, and a sharpie.
STEP 1
Wash the greens and remove any large stems. Tear or chop into manageable pieces.
STEP 2
Submerge greens in boiling water for 30 seconds (for tender greens such as arugula) to 2 minutes (for the tougher guys like collards). I usually go for a minute.
STEP 3
Move hot greens to cold water and submerge until the heat has been removed. You may need to freshen this cold water if it gets too warm. This process is called blanching.
STEP 4
Pack into freezer bags, remove air from bag and seal. Label the bag with the type of vegetable and the date frozen. If I have a lot of one green, I will make serving sized balls or separate them into serving sized bags for single uses.
Voila! That is it. Stick them in the freezer and the process is complete!
WANT MORE TIPS THROUGHOUT THE GROWING SEASON?
Inside the Garden Growers Club, we sent out emails every two weeks with step-by-step instructions for what to do RIGHT NOW to help your garden reach its FULL food producing potential. You membership includes an entire year and begins January 2020.